Have you ever stood in the local office supply store looking at calendars and planners thinking WTH?!!? I know I have. So many kinds of planners but none that are perfect for me. If I could only take this section from one system and put it together with that section from another…
Well Staples is way ahead of you and yes, they used that “Easy Button” and made a system that you can make your own. The Staples ARC System Customizable Planner is the answer to your standing in the aisles agonizing over planners.
I wrote this post because I LOVE my ARC Planner and I think it will help my peeps! Staples did not in any way pay for my endorsement or this post. I do have some Amazon links and a link to my store where I will make a bit of money if you make a purchase because of my suggestion using my links.
So why are ARC Planners so great?
I was die hard “fancy planner” girl for years. I waited until planner season every year and then figured out which one I was going to use. You know, the one that would “change everything” and be the perfect planner.
But every year I started out strong, and then petered out over the year. Some worked great for keeping a calendar, but I had all kinds of extra hooks and sticky-out things all over because they were not made to keep your “stuff” in.

Some were great because they were ready made, but then I struggled to find the exact right sheets that I would be able to use to actually accomplish something for my business!
and then one glorious day…
I watched a video on the ARC planners (or maybe it was the Levenger ones) and the heavens parted and I was IN LOVE!
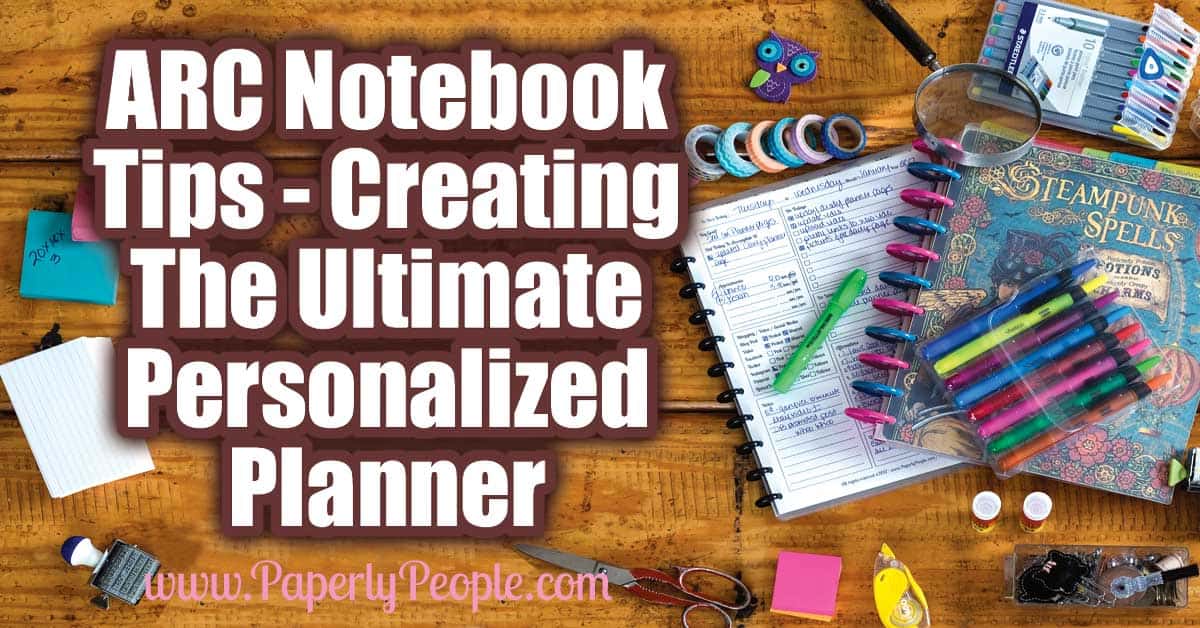
I could make any kind of planner I wanted just using the discs and the fancy hole puncher!
The ARC Starter Kit / Poly Cover
I would not need a starter kit now because I make laminated covers, BUT if this is your first go at doing an ARC planner I HIGHLY recommend that you get the starter kit with the poly cover. This is a semi transparent front and back cover that keeps your planner neat and from getting all dinged up.
If that is sold out you can search “ARC Poly Cover” to get the starter set!
The ARC Planner System Hole Puncher
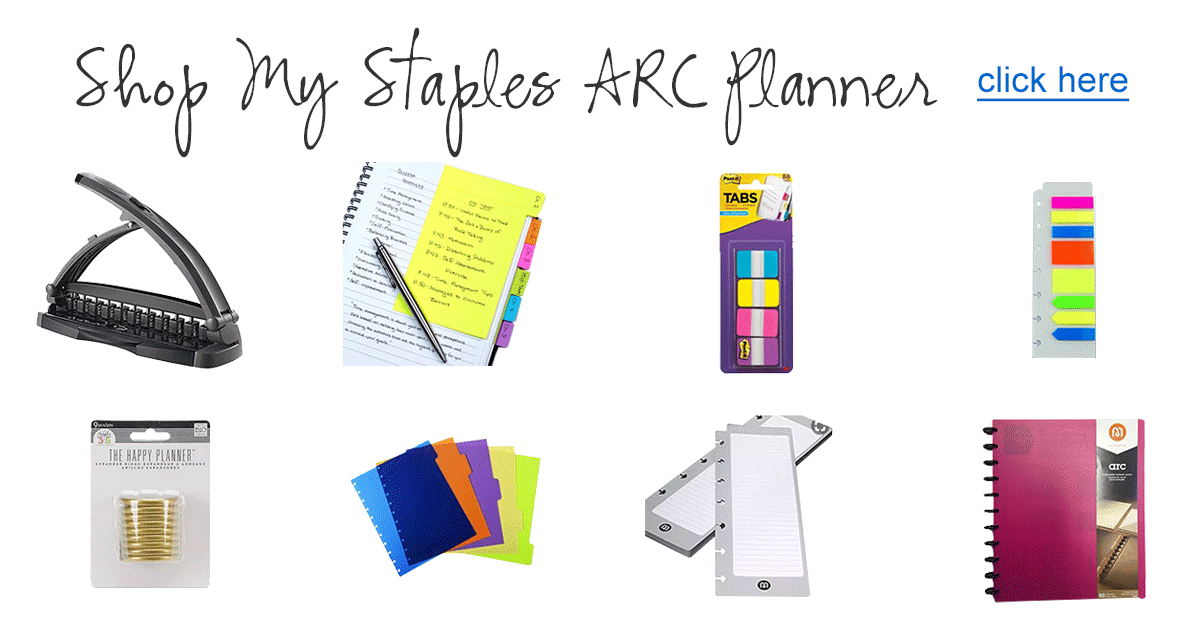
So let's get this out of the way right off the bat! If you are on a budget, doing the ARC is probably not for you. I have spent hundreds of dollars on planners over the years so spending about $50 for the hole puncher was not that much of a stretch for me (and I used a Staples coupon so it was even a little less!) You need this special Staples ARC hole punch to make the special shaped holes that the discs slide into.
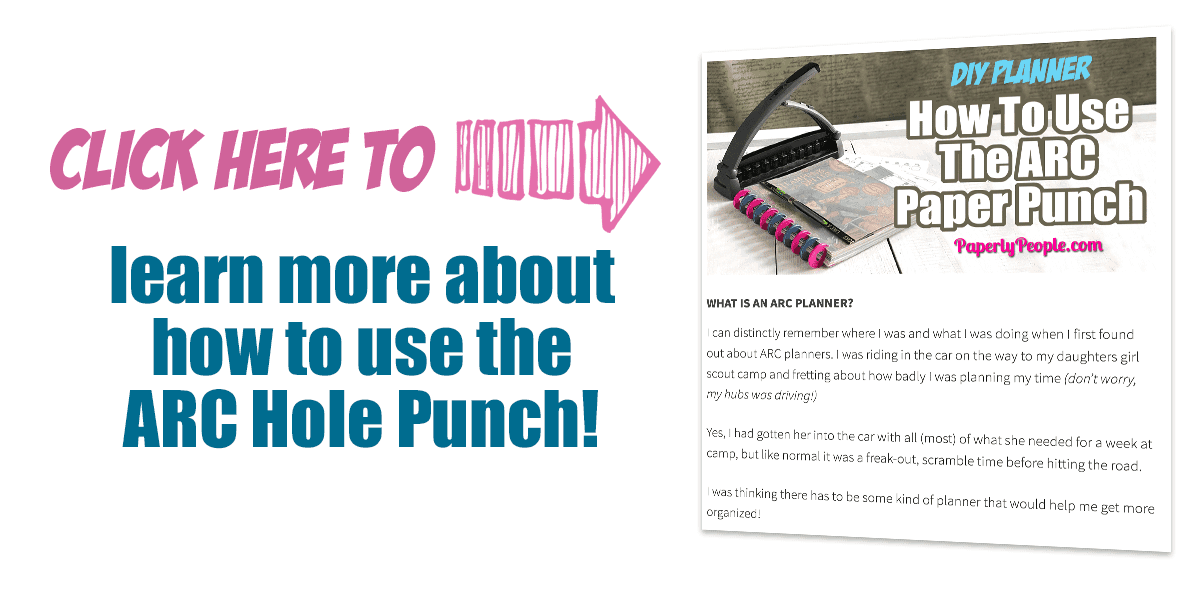
Additional Resource: How To Use The ARC Paper Punch To Make A DIY Planner
Some questions that I had when I started…
- YES! You can really take papers in and out without messing them up. They just sort of clip in there easier than I ever thought possible.
- I went with the letter sized planner because there were so many more options for planner pages and I always had things I wanted to save. For example, I like to print out what the fonts I buy look like and I keep those at the front of my planner as a reference.
- The hole punch easily goes through laminated pages and they make great divider tabs in your planner… more about that here How To Use Divider Tabs To Organize Your Planner
- I did get the Levenger portable hole puncher to have in my planner bag and it works great on one page, maybe two, but when I am doing heavy duty planning I need the power of the big ARC one to go through multiple pages.
Two “Standard” Sizes
The notebooks come in two sizes: 6 3/8” x 8 3/4″ (half letter sized paper) and a 9 3/8” x 11 1/4″ (letter sized paper); two different ring sizes – 1” and 1 1/2″; and a choice between leather which is more expensive, but holds more paper poly which is less expensive and has designed covers. Both are expandable with discs.
Any Size You Want!
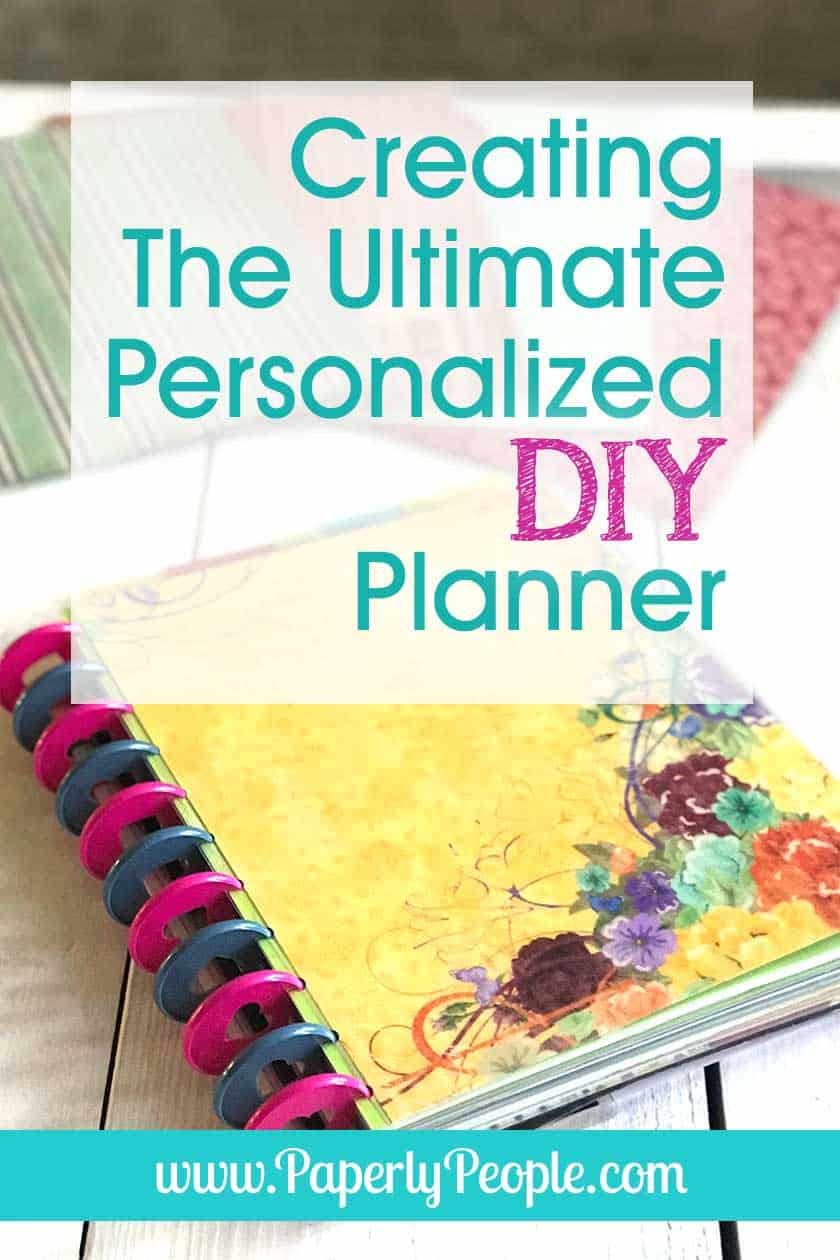
Yes, the covers from Staples come in two sizes, but I have made all different sizes using a simple laminated cover cut to the size I wanted.
Midori Travel Size-ish – Years ago I got some half page laminating pouches that were for half pieces of paper cut the tall way. I used two of these with fun scrapbook paper inside to make a tall thin notebook. It took the same number of discs as the letter sized regular planner, and for the insert pages I just cut the paper in half length wise!
Purse Sized – I also did a purse sized one using laminating pouches that were 4-3/8″ x 6-1/2″. Just cut down your scrapbook paper to fit inside pouch and then punch the sides out like you normally would, making sure your middle punch is in the center!
The Discs
At first I thought that I was stuck with the black or green discs from Staples, but you can use any disc system discs for your planner. The ARC starter kit comes with tiny little discs that make a half inch binder (I blew through that in a couple of minutes!)
I like using the 1.5″ discs because that gives me A LOT of room but isn't so big that I can't pick the darn thing up!
I like the MAMBI (Me and My Big Ideas) discs the best because they have a heart in the middle BUT you have to buy two packages to get enough discs to a letter sized planner since their planner is smaller than that.
The ARC Planner Itself
This may be the thing that lets down most people who decide to go the ARC Planner route. You wind up with this perfect notebook with sections and maybe some blank papers to take notes, but where is the calendar part?
Well AWESOME news! You can now use any kind of printable letter sized calendar pages you want! I like to use a full sized, daily page to my work day plans AND have a 3 month, "can see what everyone is doing at a glance" page too.
I also have pages for scheduling my social media and an editorial calendar for planning out my blog posts, videos and newsletters.
The VERY BEST thing about doing an ARC Planner is that you can change it in heartbeat! When the year starts I do a lot of work-work but when the summer starts I have way more "down time" because my kids are home. I just change out the pages that I use depending on the season that I am in!


 Tara’s “tell it like it is” personality combined with her 100 miles per hour presentations have earned her the title “The Queen of Marketing Ahhh’s” from her raving fans. Check out her marketing courses and products at her Etsy Store,