Tips and ideas for how to use divider tabs to organize your DIY planner.
If you are a planner nut like I am, you know that there are a gagillion ways to organize your planner. And for me this changes frequently throughout the year. I might be focusing on Blogging or making a course, doing product photography or writing a book at any given time throughout the year.
I have to have a great system for using tab dividers to organize my planner (and my life!) This post will go over some of my strategies and tools that I use. Some are mass produced and some are my own DIY creations, but all add to the effectiveness of my planner!
please note :: I often recommend resources, some I receive an affiliate commission for at no additional cost to you! Check out all my policies here
Big Categories For My Tab Dividers
Okay, let's start with the big tab dividers in my planner. These are the main areas of my business life right now and just FYI, I recently updated them and moved them around. Please don't feel like you have to pick something that will last the rest of your life, just make sure it is working for you right now.
My current sections are (in order of what is most important to least):
Numbers – where I obsessively track my stats like income, web hits, social numbers, etc.
Monthlies – I keep my overview calendars here
Forms – this is the BIGGEST area for me sales-wise, here is where I work on my main product
Webinar Funnels – my Facebook marketing gal is working on promoting sales funnels that start with webinars so I need to have a way to track these and where I am in production for each

Blogging – I have a section dedicated to upcoming posts so that I can easily pop in and see what I should be writing about daily
Newsletters – I send out 4 newsletters each week to different niches of my email list, this is where I record what I wrote about and any upcoming promotions I need to send out with the messages
Marketing Artfully – this is my main business and site, here is where I keep ideas for this business
Paperly People – same for a smaller product line
Tips:
Make sure your most important sections are RIGHT UP FRONT! Don't bury your money making sections somewhere you never go, keep them organized right up front and center.
I feel like having more divider tabs than less keeps me on track better. If I have to dig around through a section I am less likely to use my planner than if I can pop right into whatever I should be doing right then.

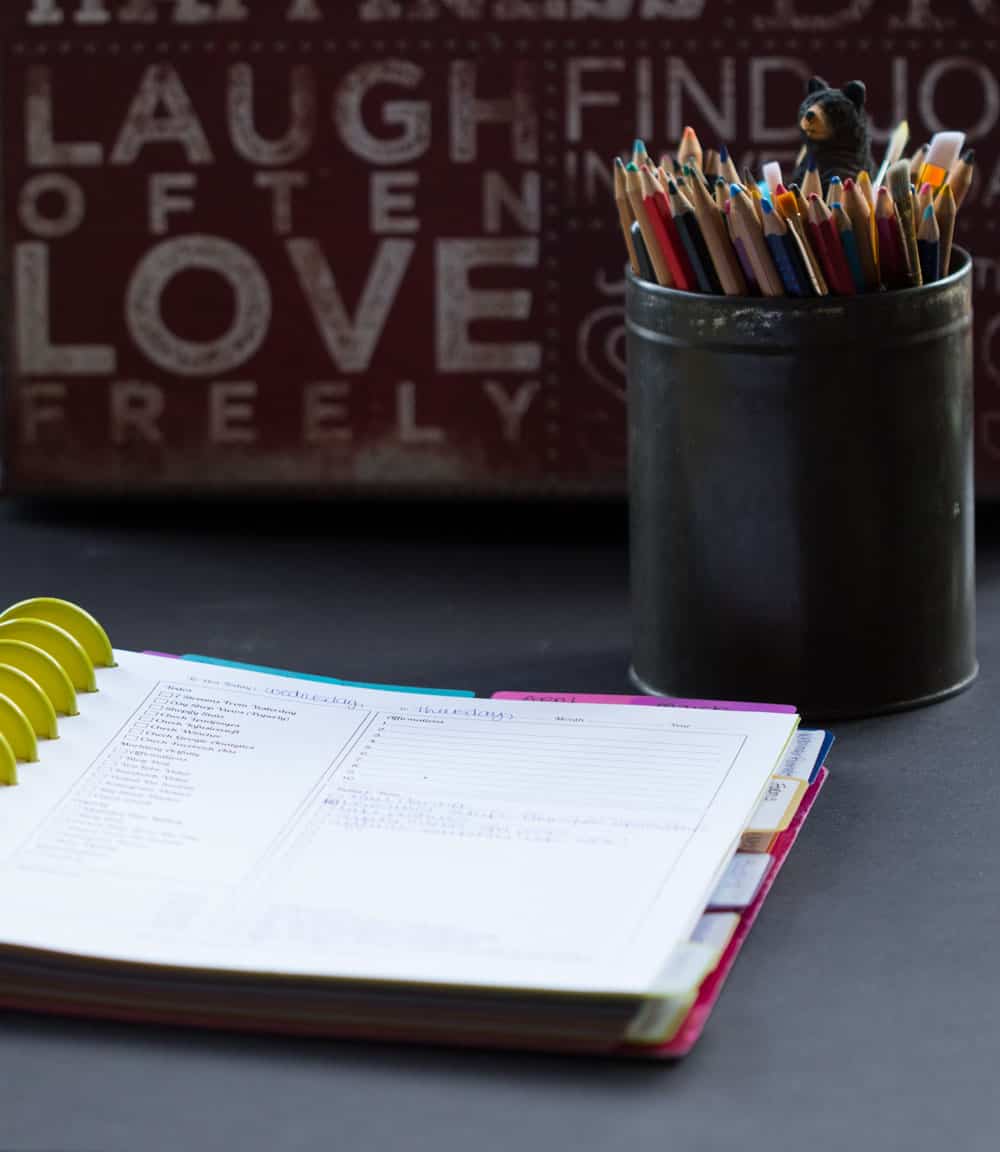
I use the Staples ARC system and the Staples Arc Notebook Poly Dividers for my sections. They come in sets of 5 and I use two sets at a time. This gives me lots of flexibility with my sections without letting me go wild and have TOO many sections going at one time.
DIY Section Dividers
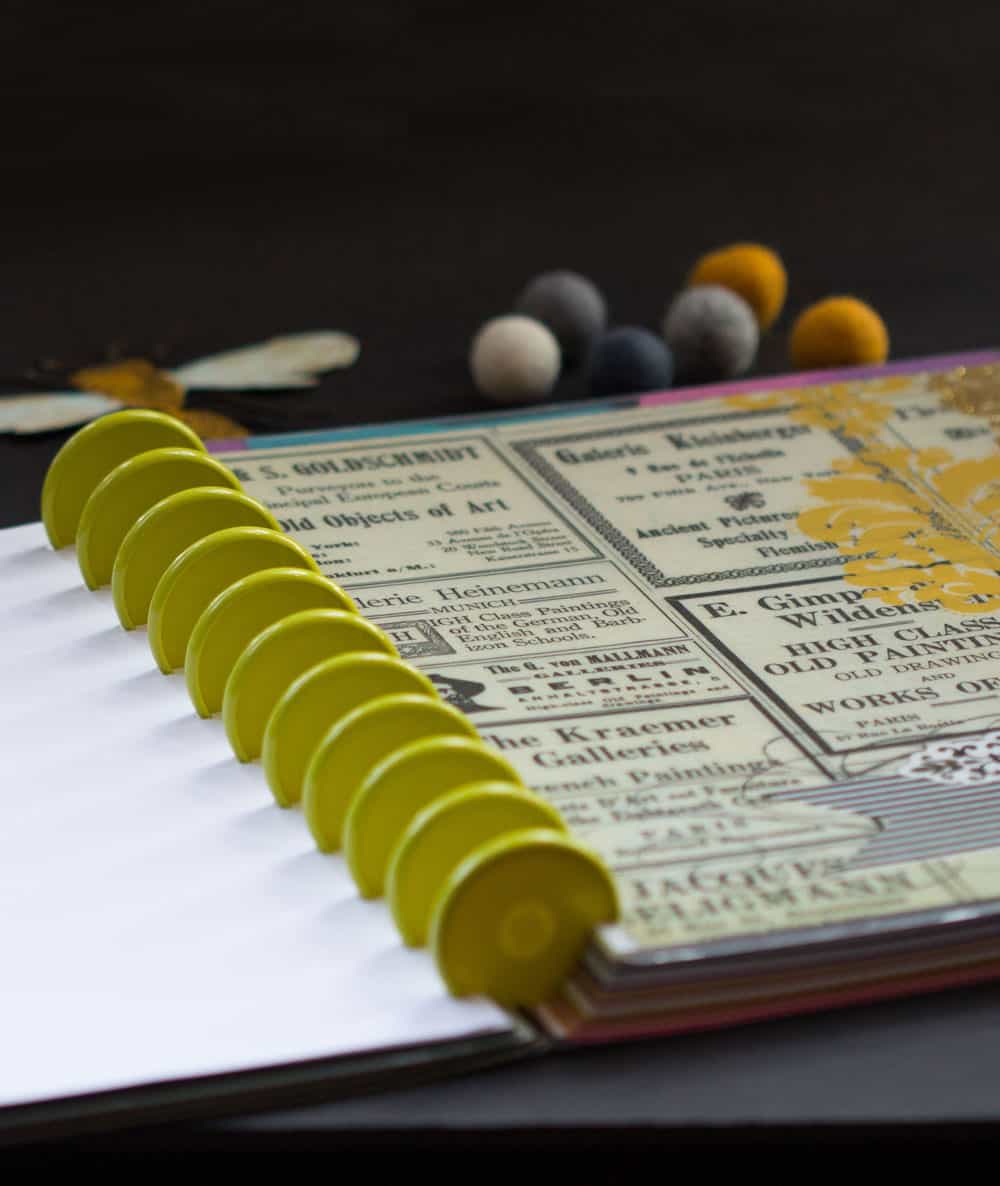
My next AMAZING divider type is a DIY using scrapbook paper and 10 pound laminating sheets. I simply cut down 12X12 scrapbook paper to fit a letter sized laminating folder and then hole punch the sides.
I use these to mark the super important things I am working on right now. For example, instead of having a poly divider for my daily goal sheets I have a DIY divider tab in front of that section. They are wider than my regular letter sized sheets so it is easy to find them sticking out.
Additional Resource: How To Make Laminated Scrapbook Paper Dividers For Your Discbound Planner
Tips:
Because they are REALLY stiff it is really easy to find them in your planner. They are also SUPER durable (I have used mine daily for over a year and there has been no change at all!)
I thought maybe that hole punching these DIY divider tabs would make them less sturdy, but since I am using 10 pound laminating sheets that hasn't really been an issue.
If you use scrapbook pages that have dimension (sparkles, etc.) you will sometimes not get full stickage (I made that up). I don't care but if you are super fussy, just use flat scrapbook paper and there will be no problems at all!
Top Tab Dividers For Your Planner
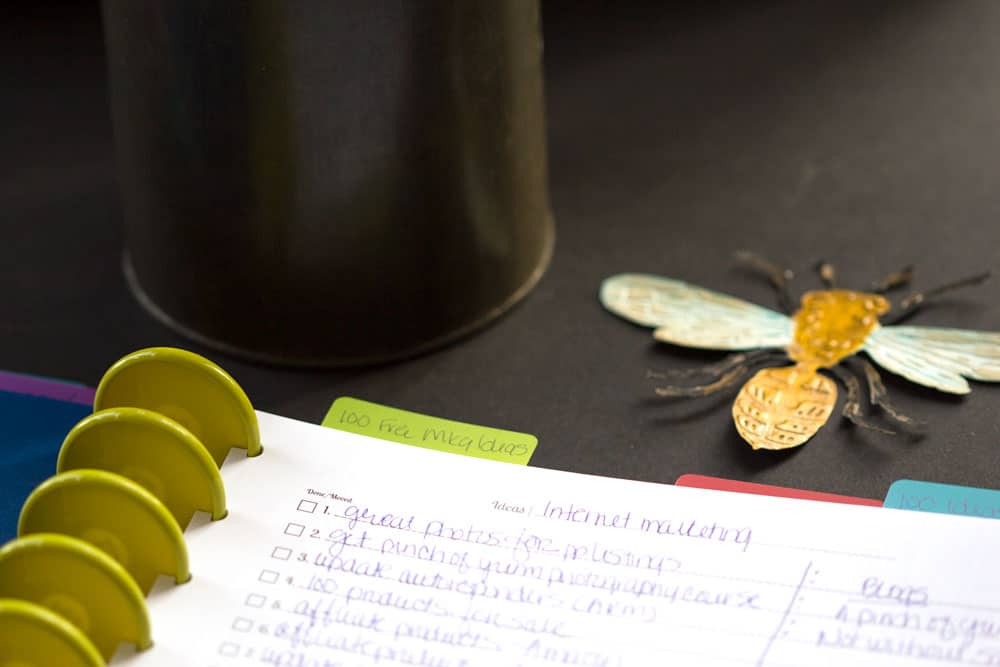
I resisted having top tabs for a long time because I couldn't really figure out an elegant way to make them stick out (I know, really a first world problem!)
Some of the ways that I use these are for:
- Monthly throughout the year (Jan, Feb, Mar, etc.)
- Different projects that are within my big categories like a Realtor Webinar within my big “Webinars” section

Then I figured out I could use Post-it Sticky Note Tabs at the top with the added bonus of moving them around anywhere I wanted. I use as many different colors as I can find and love that this set comes with 4 colors that super pretty.
Tips:
Often I put these on colored tag paper (usually 24 pounds) because it is cheap AND the weight makes it a little easier to find it in my planner.
I don't use these divider tab tops as much as I use the side tabs BUT I do know people who are MUCH better at organizing with top tabs in which case I would get the poly top tabs and then use these sticky tabs along the side (I hope that makes sense!)
Holey Smoley These Tab Dividers
So I was bopping around on Amazon looking for links to the products I use and found these…OMG… these post it note, sticky tab dividers look GLORIOUS!
I love the idea of these and probably will order some, although the comments seem to indicate that they are not the most functional of sticky note tab dividers.

What Works For You
Now that I have shown you how I use all of my crazy organizing tab dividers, I just want to remind you to find the system that works best for you! Don't give up until you feel super organized and in control.
It took me YEARS of trying different kinds dividers and systems until now I have my most glorious planner in the world! You can do it too…just keep trying until you find the perfect planner system for YOU!!

 Tara’s “tell it like it is” personality combined with her 100 miles per hour presentations have earned her the title “The Queen of Marketing Ahhh’s” from her raving fans. Check out her marketing courses and products at her Etsy Store,
[…] Additional Resource: How To Use Divider Tabs To Organize Your Planner […]