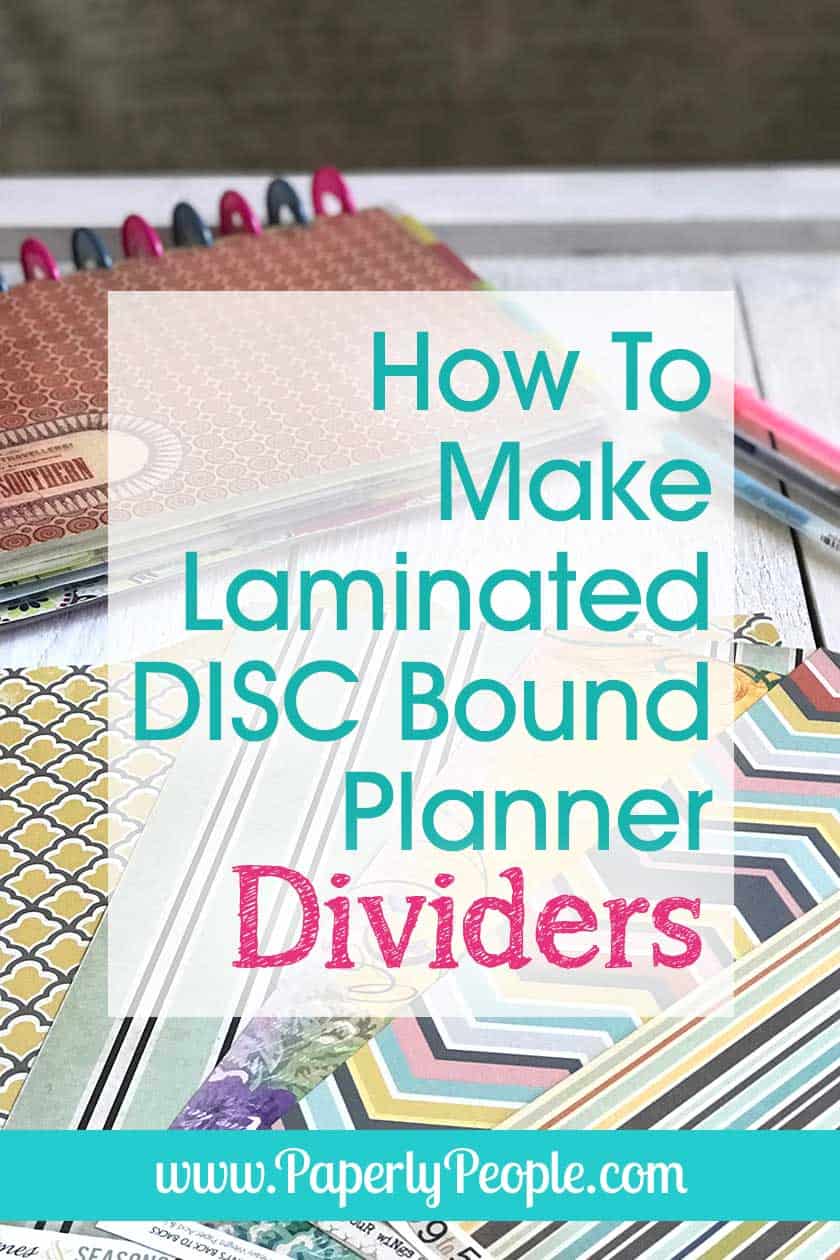
With all the scrapbook paper I have laying around I thought it would be a great idea to make DIY laminated divider pages for my letter sized disc bound ARC or Levenger planner! It is wicked easy to do and helps so much with planner organization. You can even use them as covers (I do!)
I don't know about you but I use a lot of different kinds of tabs and dividers to organize my planner!
Because I use it for both my business and my family, I like to have more specific sections in my planner than I can get with the side dividers you can get at Staples (although I love those too!)
Additional Resource: Creating The Ultimate Personalized DIY Planner
please note :: I often recommend resources, some I receive an affiliate commission for at no additional cost to you, these all help to keep this site free for you!

Why Use Laminated Planner Dividers
When I started my planner I used those super cute little discs that they give you with the starter set, but soon it was obvious that I would need bigger and bigger discs to hold all the pages I needed for my life.
Now I use the 1.75 Happy Planner extender rings (I love that they have the hearts in the middle!) If you have a letter sized planner like I do you will need 11 rings so you have to buy two sets. I like colorful so I mix mine up as you can see!
But once I started to have the largest planner in the world it became really hard to flip the pages over and find what I wanted.
But then I figured out that using super hard and heavy dividers that could flip a bunch of pages at once. That took my organizing to a whole new level!
Check Your Scrapbook Paper Stash
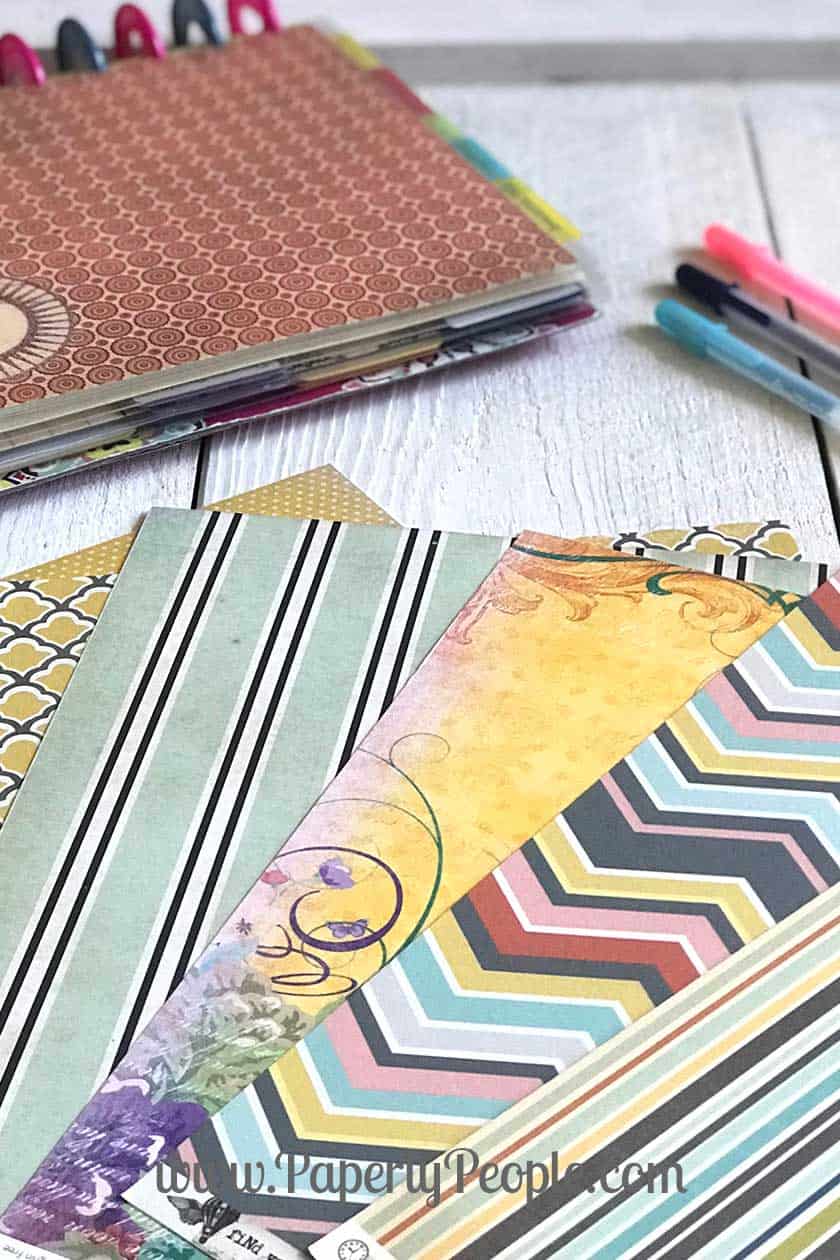
Alrighty, the first thing you have to do is check your paper stash! I have SO MANY papers and love that I have a reason to use them other than scrapbooking!
The very best thing is to find one that has two sides.
Firstly because they tend to be a little bit heavier than some of those cheap, buy 10 for a dollar pages.
Secondly because it makes doing your laminating so much easier! There is nothing worse than running it through the laminator and then realizing that the pages have shifted and there are big white gaps where they don't overlap anymore.
Measure Your Paper
If you are using 8.5″X11″ paper then you can skip these steps. If you are using 12X12 scrapbook paper, you can just use a letter sized piece of paper as a template (or a Happy Planner page if you are doing a smaller size).
It's about time to talk about how big the divider will wind up! Because the laminator pouch is bigger around than the letter sized paper it will extend beyond the edges of your planner pages which makes it super easy way to get to different parts of your planner.
Use A Paper Cutter
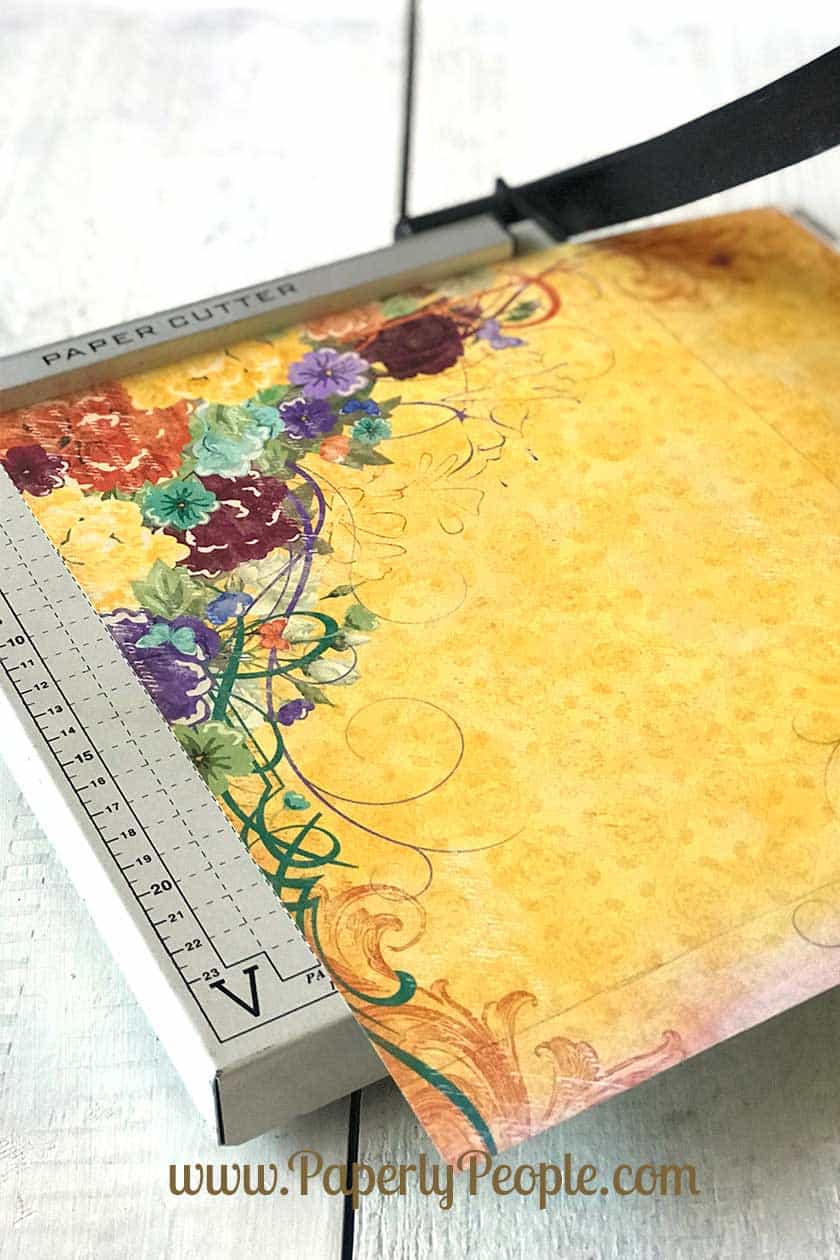
I used to be a big scissors girl, but once I started using a paper cutter I never looked back! Using a paper cutter makes your dividers so much better.
If you are using a smaller paper cutter like I am, you can push the paper forward and push it level with the cutting edge to do the longer pieces.
If I had it to do all over again I would for sure get a paper cutter that is at least 12″ long!
Arc Discbound Paper Punch
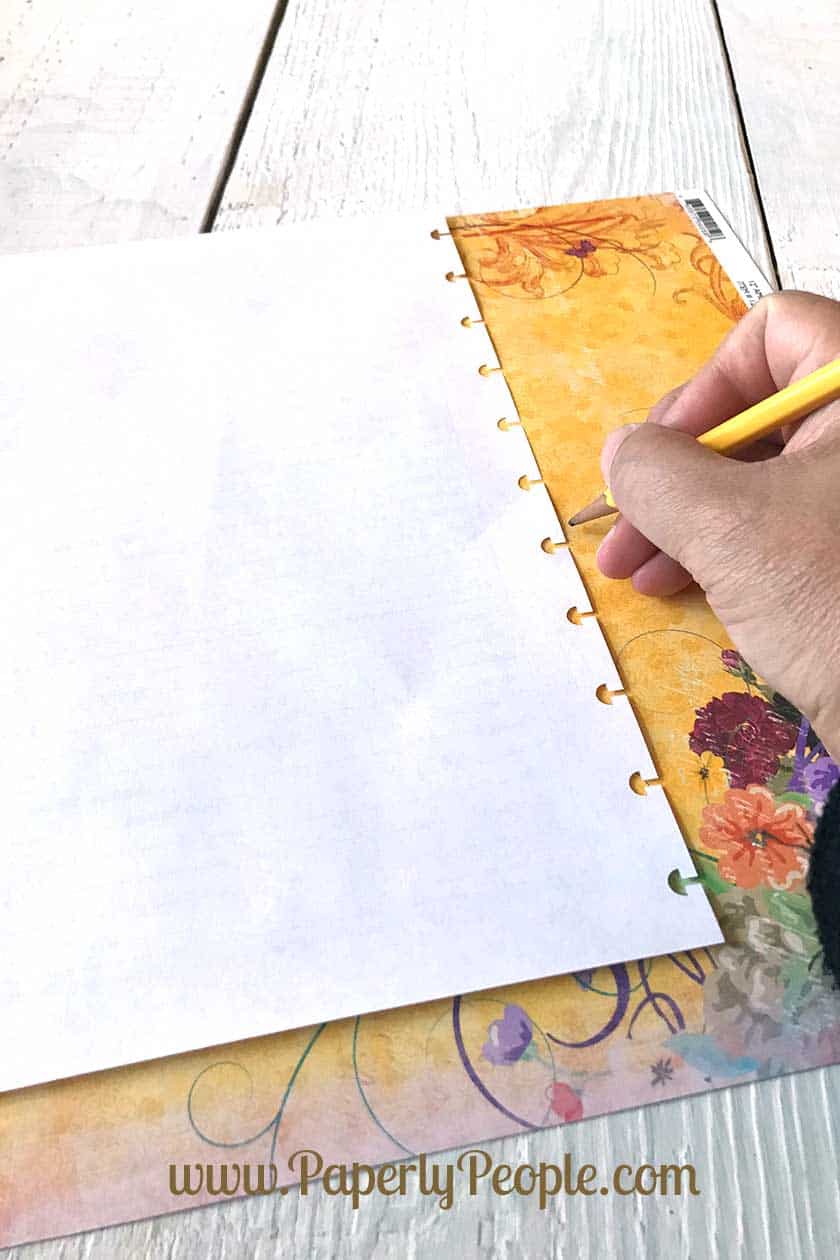
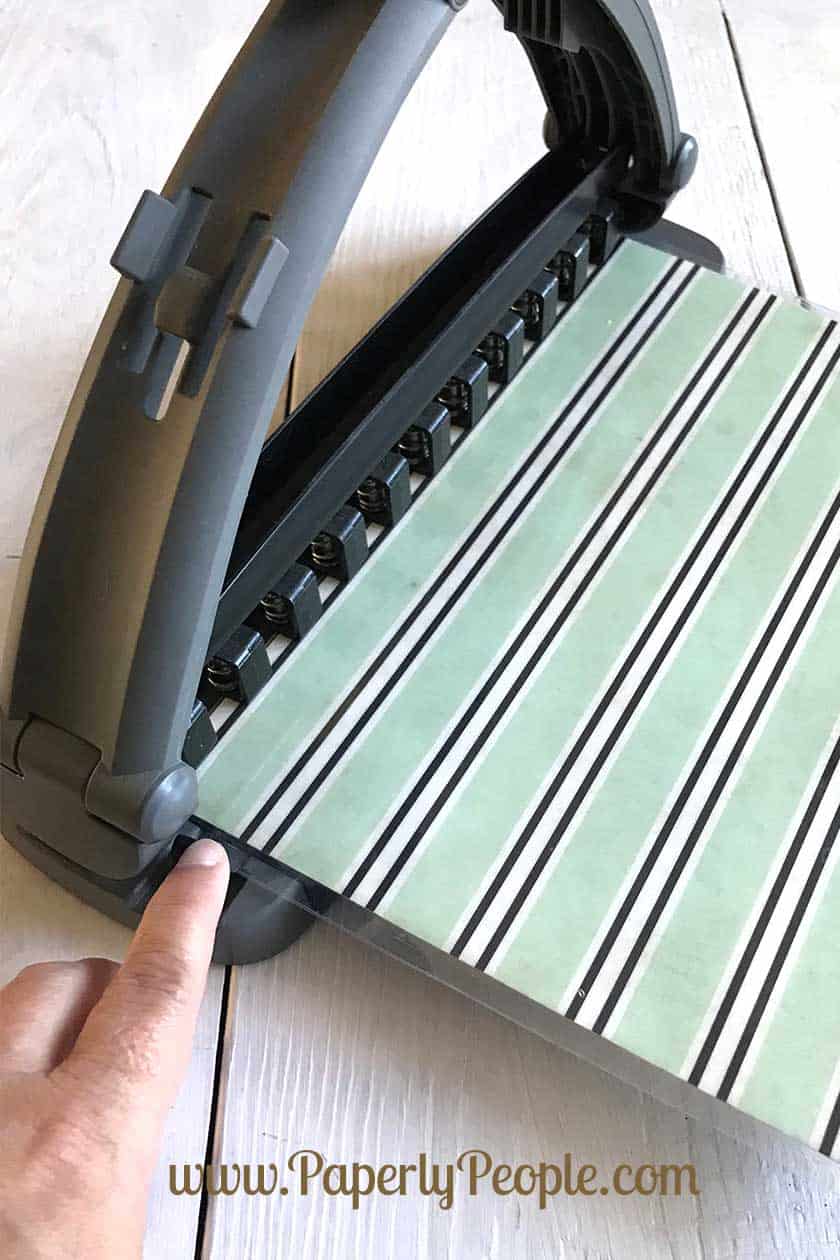
If you haven't used an ARC paper punch before it is super easy and works just like the three hole punch for binders.
That said, you have to be super careful not to just plop your divider in with the “normal” setting. If you do that you will wind up with a divider that sticks way out at either the top or the bottom! (ask me how I know this!)
Instead you are going to need to “eyeball” the top and the bottom of the scrapbook paper to make sure it is centered and then slide the little “holder” into the right place to help it stay steady while you punch it.
Additional Resource: How To Use The ARC Paper Punch To Make A DIY Planner
Discbound Planner Divider FAQs
I have gotten some questions about this post and wanted to give you some more great tips and ideas!
Will This Work For The Junior Size?
Yep! It will actually work for any sized planner. Just use a “normal” planner page as a template for the size. That way when you laminate the page there is an extra area around the paper which sticks out of the planner and makes it easy to flip lots of pages at once!
How Many Dividers Do You Use At One Time?
I actually use these in a few different ways!
As a divider. I generally have at least one divider per section of my planner. So I have one between my family and business. And then one between the different sections of my work life.
As a planner cover. I like having these to swap out at planner covers for the “cute factor”. I have Christmas ones and Halloween ones… and sometimes just happy ones!
As a notebook. Lastly I use these to make discbound notebooks for littler projects that I don't have to carry around with me all the time! For example, when I am working on my blog I will do a “blogging notebook” different worksheet pages. Check out all my worksheet pages and printable planners!
Why Can't You Just Use The Ones From Staples?
I LOVE the ones from Staples, but they are not heavy enough to make all the pages flip over at once. I swear, I almost gave up on my planner when it got to certain size because it wasn't working well anymore. I was having to fight to get the pages to flip which was no fun!
Where Did You Get the Discs with the Hearts In Them?
They are Happy Planner discs. While most of my stuff is Staples ARC, I love the hearts in these Happy Planner Expander Discs! You will need to buy two sets to do the letter sized planner (11 discs).
DIY Discbound Planner Dividers
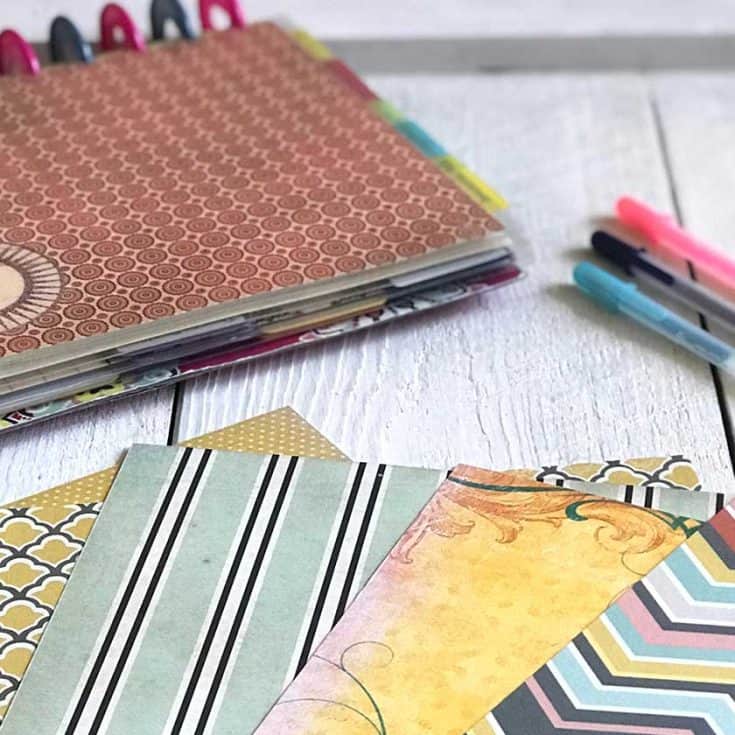
I love using my scrapbook paper stash to make DIY discbound planner dividers, can also be used as planner or notebook covers.
Materials
- 2 Sided Scrapbook Paper
- Paper Cutter
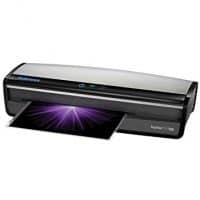
- Laminator (for 10 Mil Pouches)
- 10 Mil Laminator Pouches
Instructions
- Measure your page (works for letter sized or junior)
- Use a paper cutter to get your sides super straight
- Put your paper into the laminated sleeve (I recommend 10 Mil for a nice heavy divider)
- Use your ARC discbound punch to make the disc holes (make sure to move the slider down and center your paper)
- Pop into your planner! (works for dividers and planner or notebook covers!)
Notes
To get the really heavy, effective stiff dividers you need to use 10 mil laminating pouches. If you don't have a laminator heavy enough to do those, you can pop over to Kinkos or Fedex and run them through their machines pretty cheaply (they often have the pouches too!)
www.PaperlyPeople.com
Recommended Products
As an Amazon Associate and member of other affiliate programs, I earn from qualifying purchases.

 Tara’s “tell it like it is” personality combined with her 100 miles per hour presentations have earned her the title “The Queen of Marketing Ahhh’s” from her raving fans. Check out her marketing courses and products at her Etsy Store,